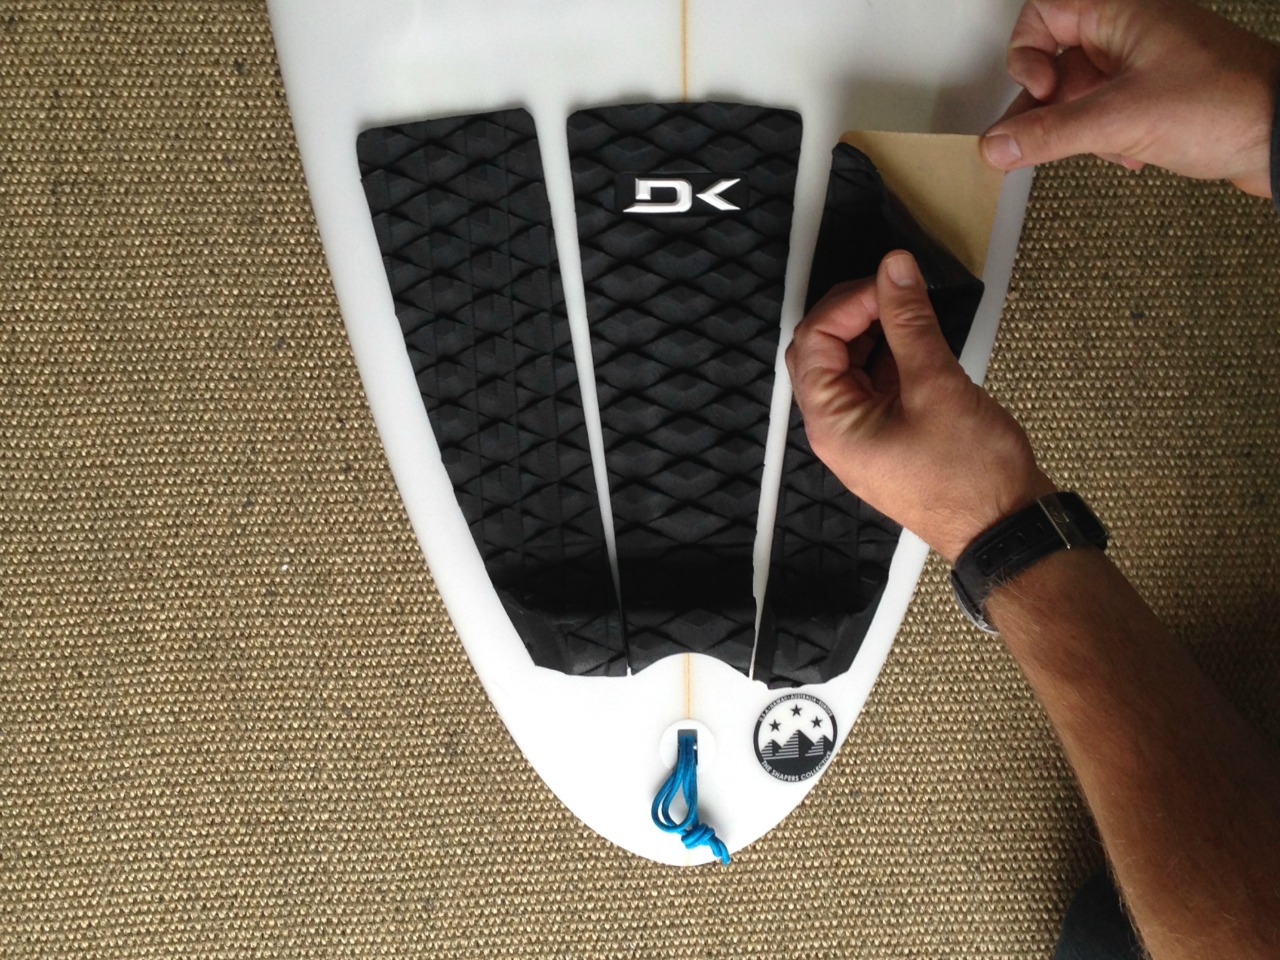
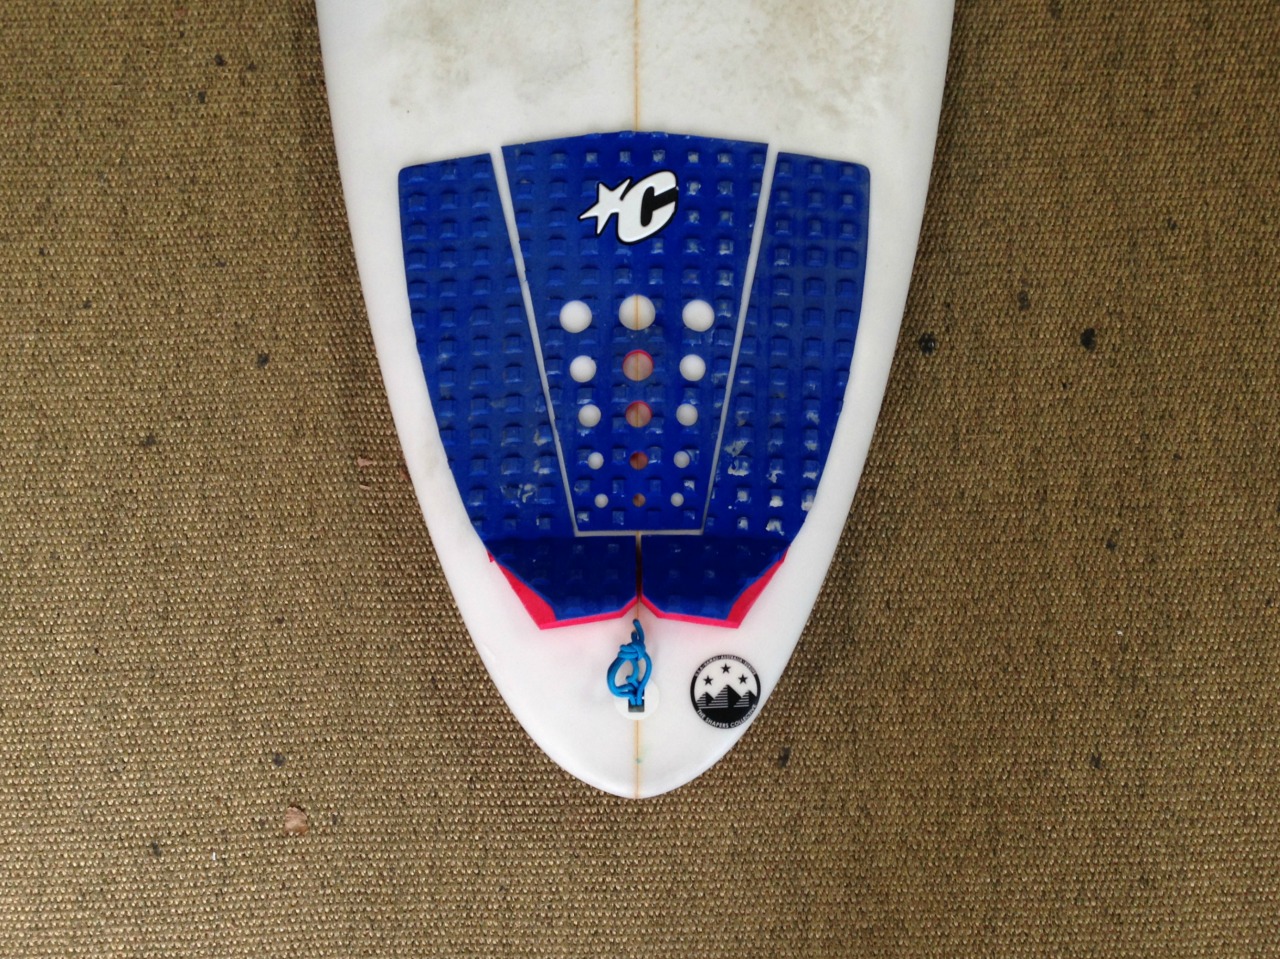
 Here’s a little instructional article on how to remove surfboard tail pad grip. It’s a question the staff instore get asked quite a bit, there doesn’t seem to be much in the way of content online that I though was very useful, so here you go – step by step instructions to quickly & easily remove an old or worn out tail pad or grip from you surfboard.
To start out you will need a few things to do this, I suggest the following:
- A razor blade or stanley knife blade – basically something sharp with a straight edge.
- A wax comb
- Paper towel
- Mineral Turpentine – there are a bunch of other products you can use – basically you want to help dissolve or loosen the adhesive residue without damaging the surface of you surfboard.
The idea is to peel off the old pad and clean up the surface of your board as much as possible so you have a nice clean spot to stick a new one on.
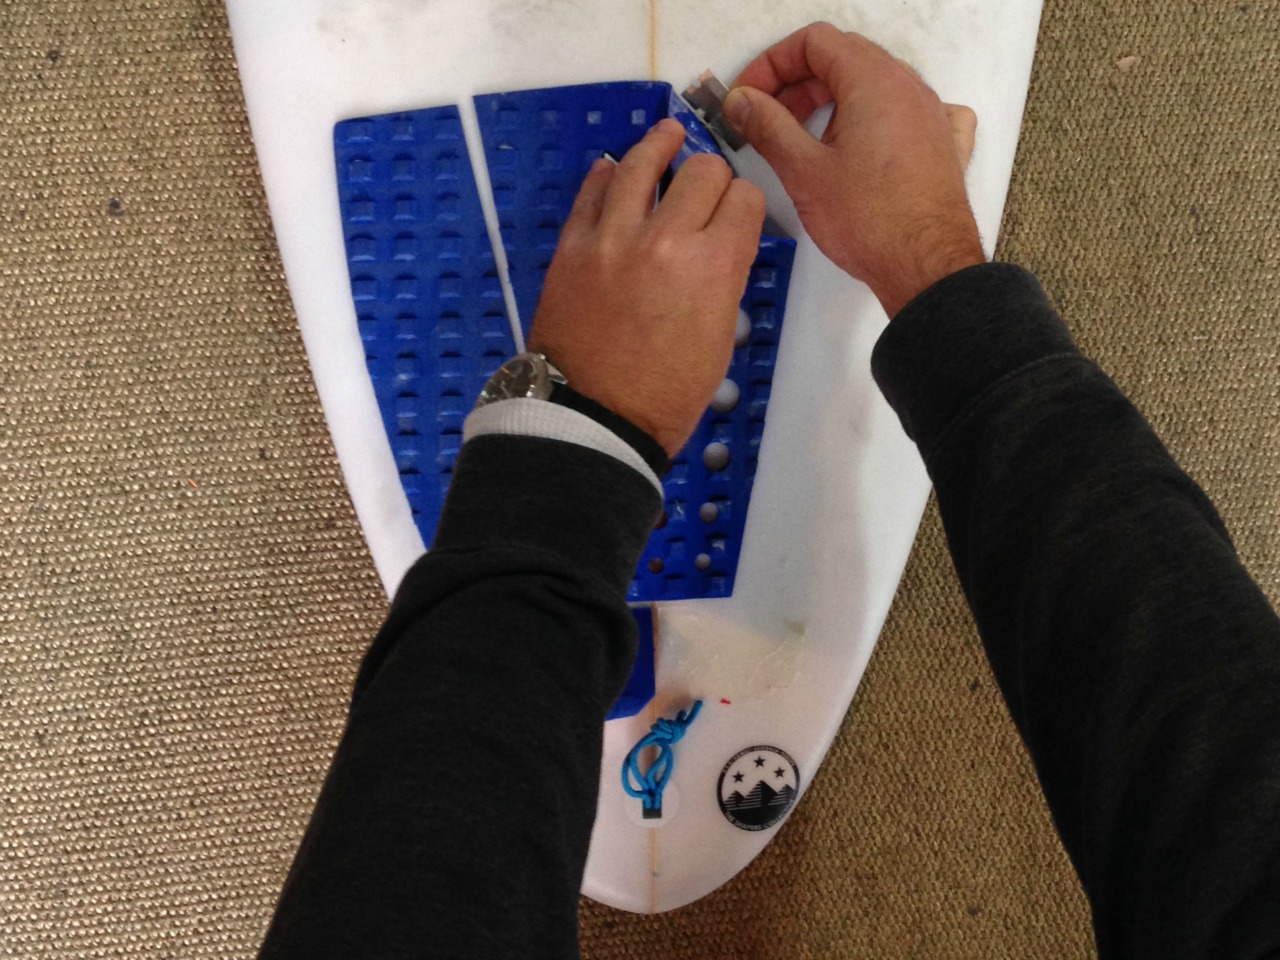
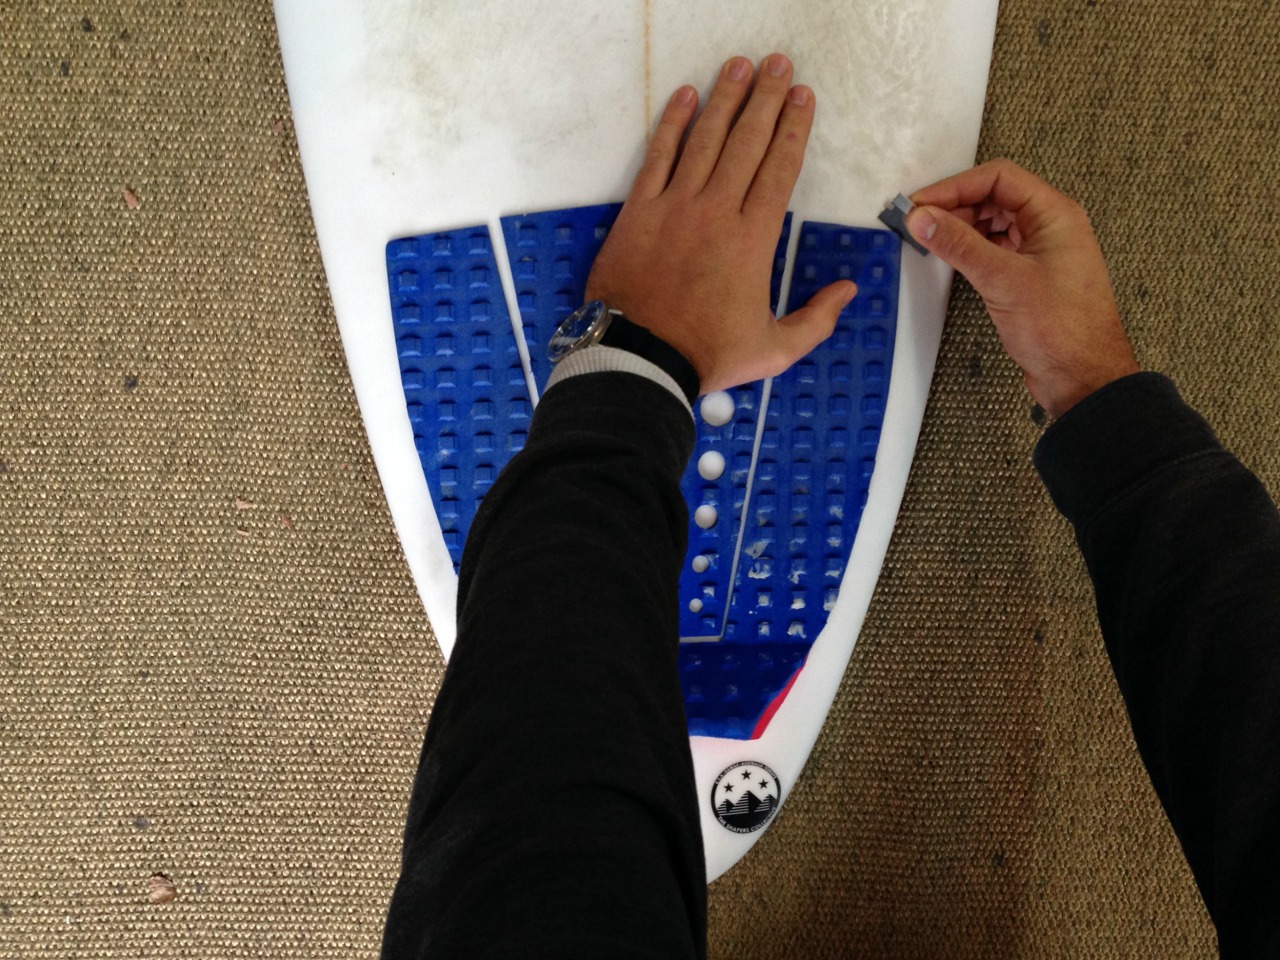 Step 1:Tail pads or grips are like big stickers, so you want to try as best as possible to keep each piece whole when you peel them off. Also as you peel off the grip pieces,some of the adhesive can be left in patches on your board. Peeling each piece off slowly and carefully is the key here, the cleaner the pad comes off, the less work you will have to do later – so take care and do it slowly.
Use the razor or blade to start peeling back the pad, making sure you get under the adhesive layer on the bottom of the pad. If bits of adhesive start staying on the board as you ar peeling the pad back, used the razor blade to try and get under it – but be careful, you don’t want to cut into/scratch the deck of your board.
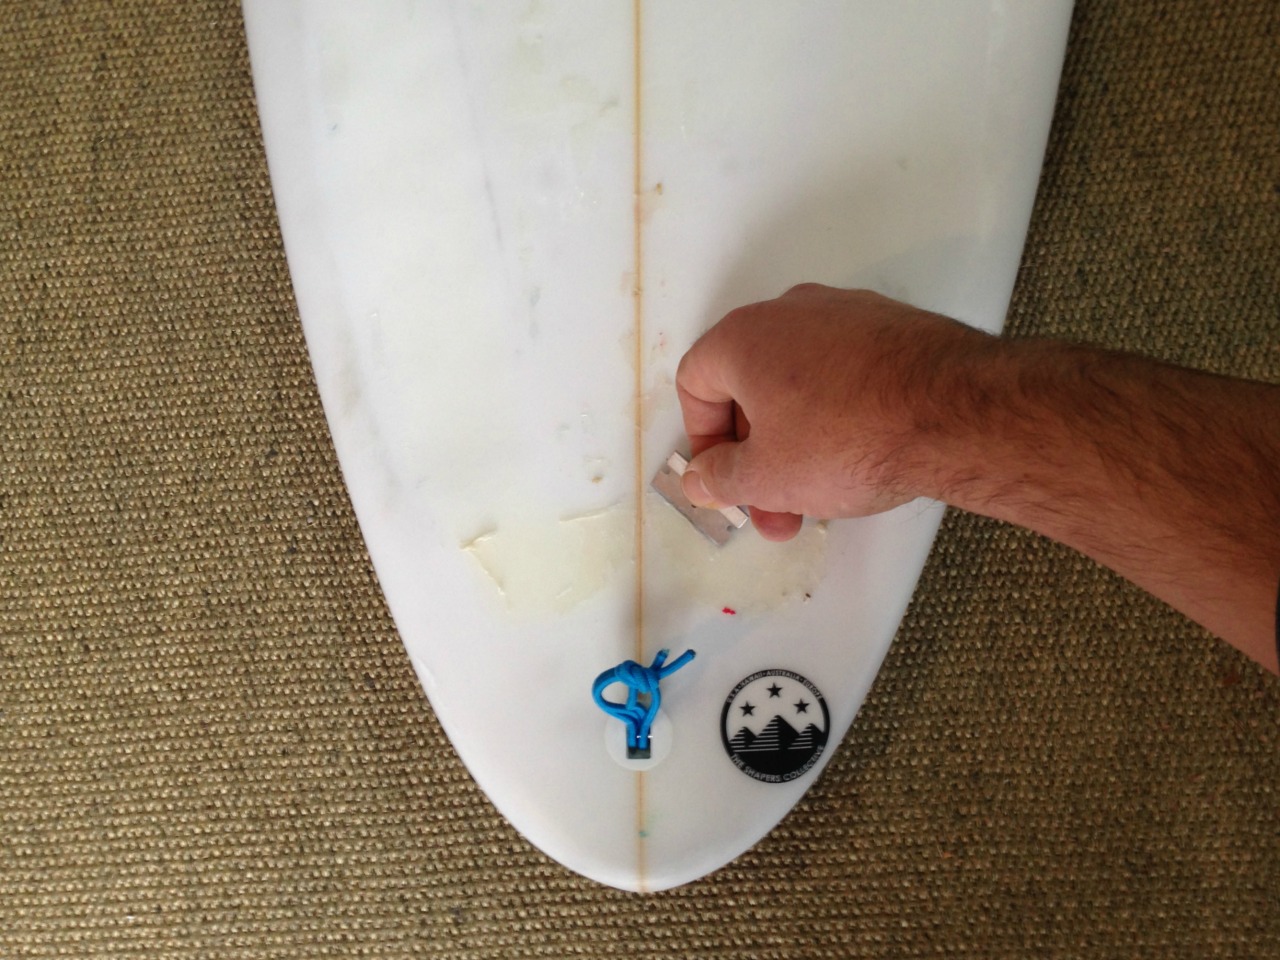 Step 2: Once you have got all off the pieces of you pad peeled off the board you are bound to have a few patches of adhesive left on the deck of the board (unless you are a total boss & have managed to peel each piece off perfectly). Try and scrape off as many of these areas of adhesive with your blade and make the surface as clean as possible.
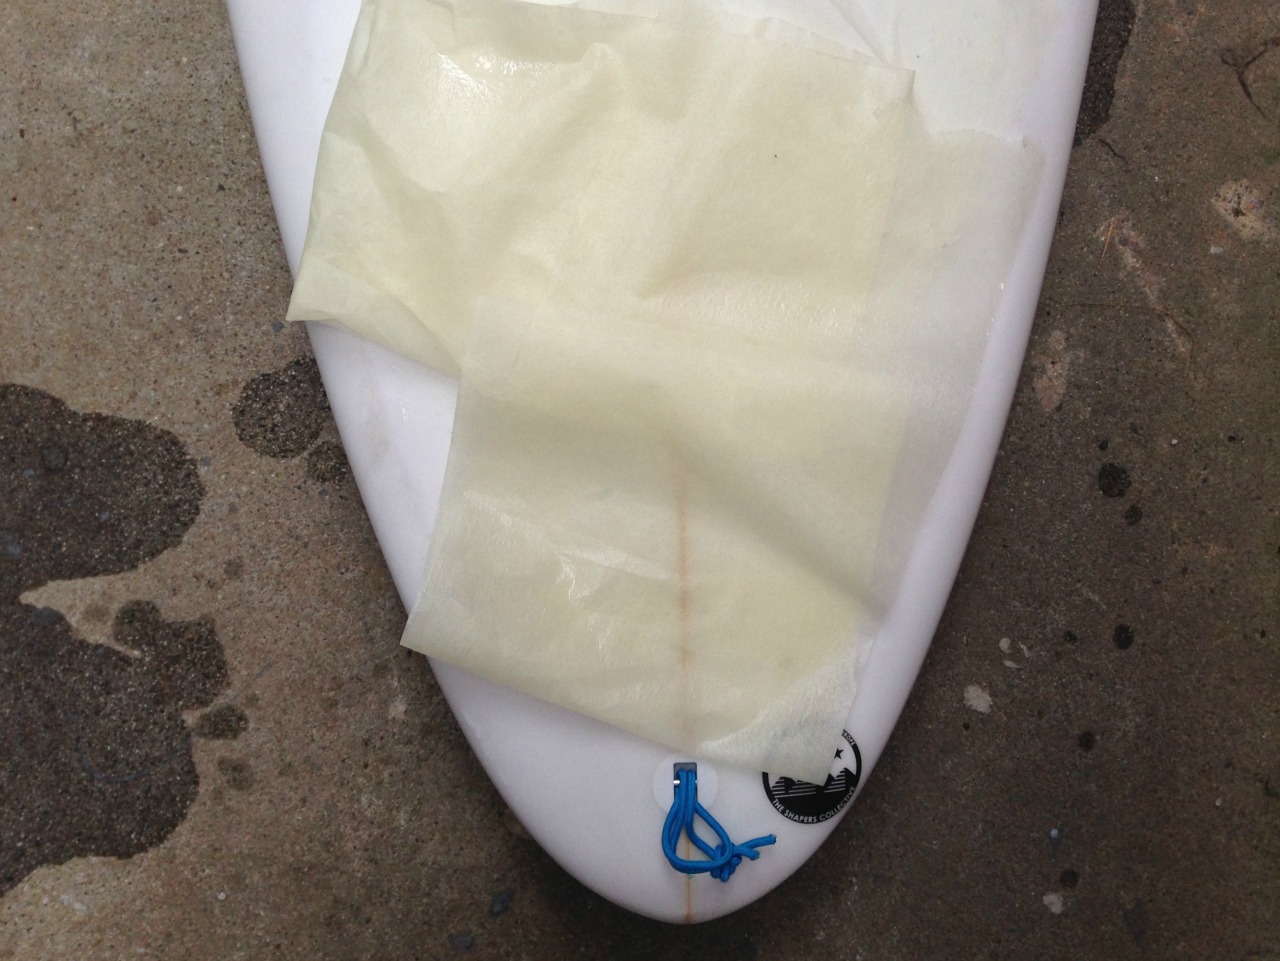
Step 3: Now to get wrid of the rest of the adhesive that is left on the surface of the board (best to do this step outside). Grab some of your paper towel, wet/soak it with the Mineral Turpentine and lay it over the tail of your board where the adhesive is you want to remove. Leave it for 5-10 minutes and let the Turpentine do its thing.
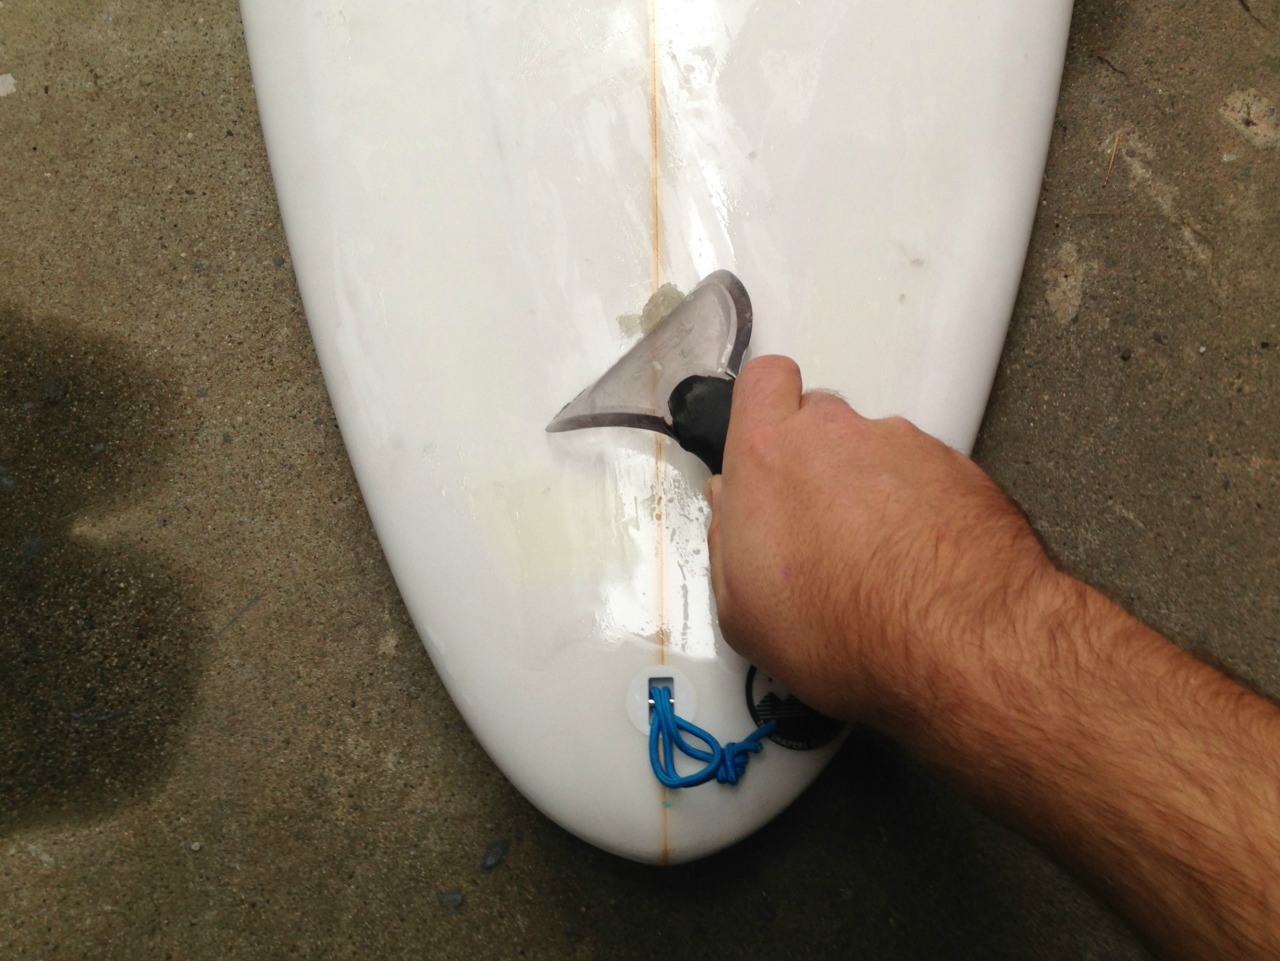
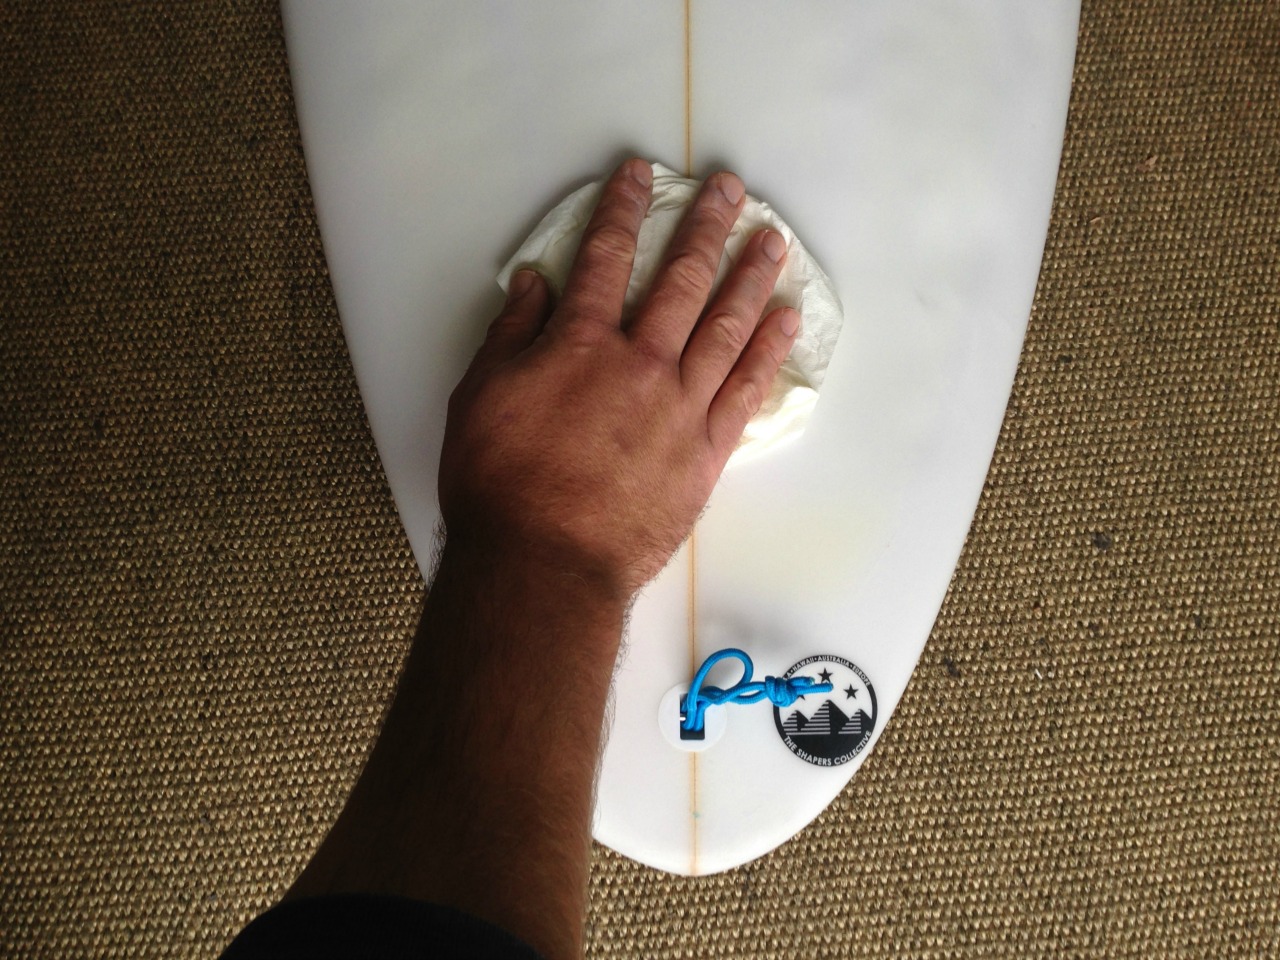
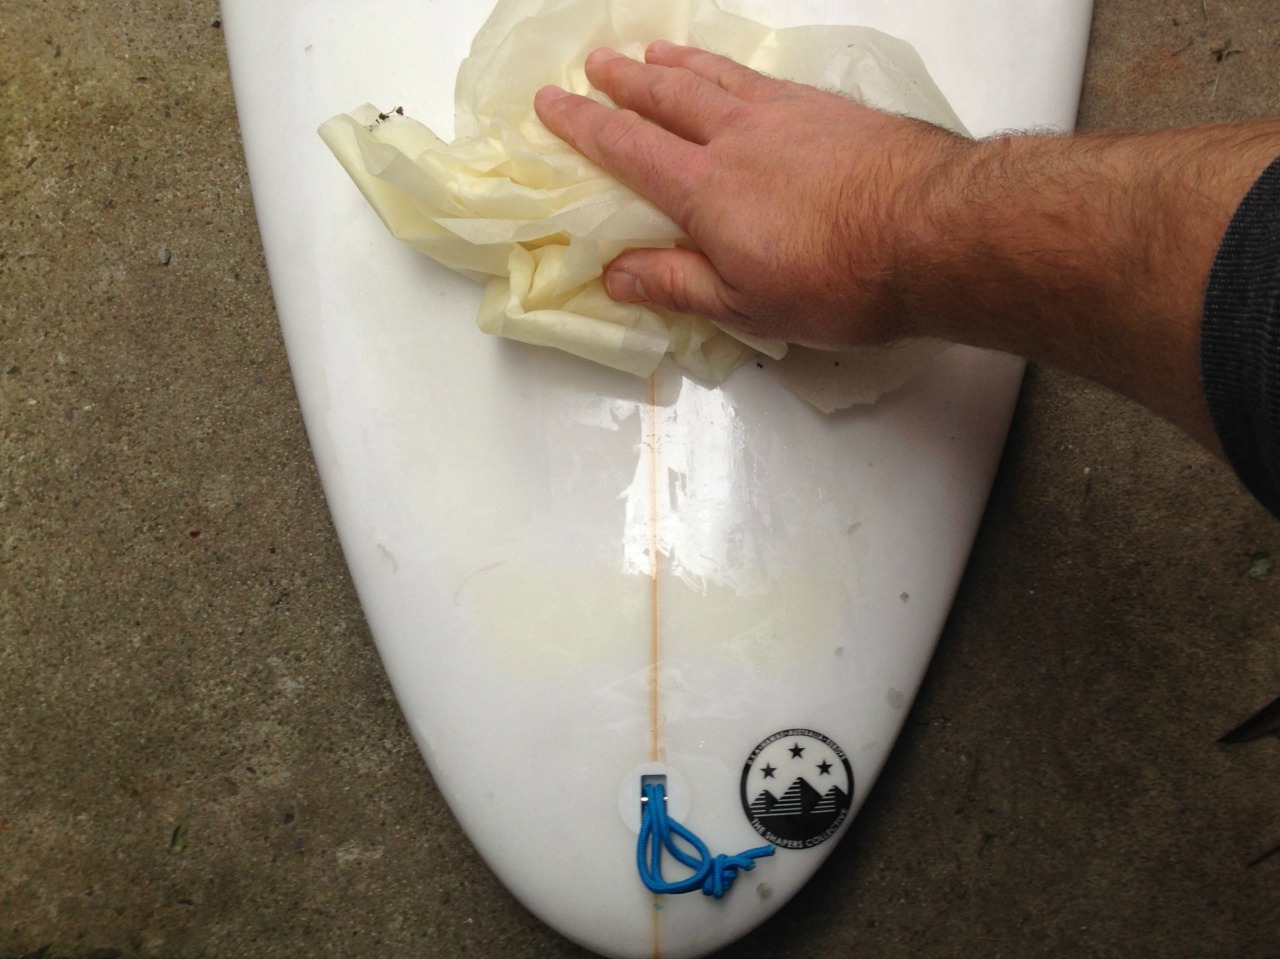 Step 4: Once you have left it for a bit, take off the paper towel and grab you wax comb. Use your comb to scrape off any adhesive left on the surface of the tail – I should have partially melted and be easy to scrap off now. Once you have scraped of the adhesive left, grap you paper towel and give the tail a good rub down – make sure you rub off all of the residue so the tail is now relatively clean.
Step 5: Now with a clean paper towel wipe off any residue left by the Mineral turpentine. Rinsing the tail under water first definitely helps with this as well. Make sure you tail is fully dry – you are now ready to apply your new tailpad/grip.
Step 6: Simply position, peel and stick down your new tailpad. Remember to press down so that all all sticky surfaces of the grip are bonded with the board – corners/ edges of the pad’s pieces especially. If you have any depression on the tail take a little extra care with this step – It will make sure that you new pad sticks properly and doesn’t peel off in the water.
***GO SURF 😉 ***
